I finished the field desk and took it for a walk up and down the driveway a few dozen times and decided that if I had to carry the field desk any significant distance, the handle would become uncomfortable quite quickly. I determined I'd need to fit a strap of some description...
I designed a few options based around a quick dis-connectable strap which would have been based on an inset plate, with a "key-hole" shaped hole which would have allowed a strap to be connected without load, and lock in place under load. I planned on making this from the brass strip I have, and make a mushroom post to enable this function. Easily within the scope of my skills and materials, but the more I looked at the idea, something just felt wrong about it - still haven't figured out what.
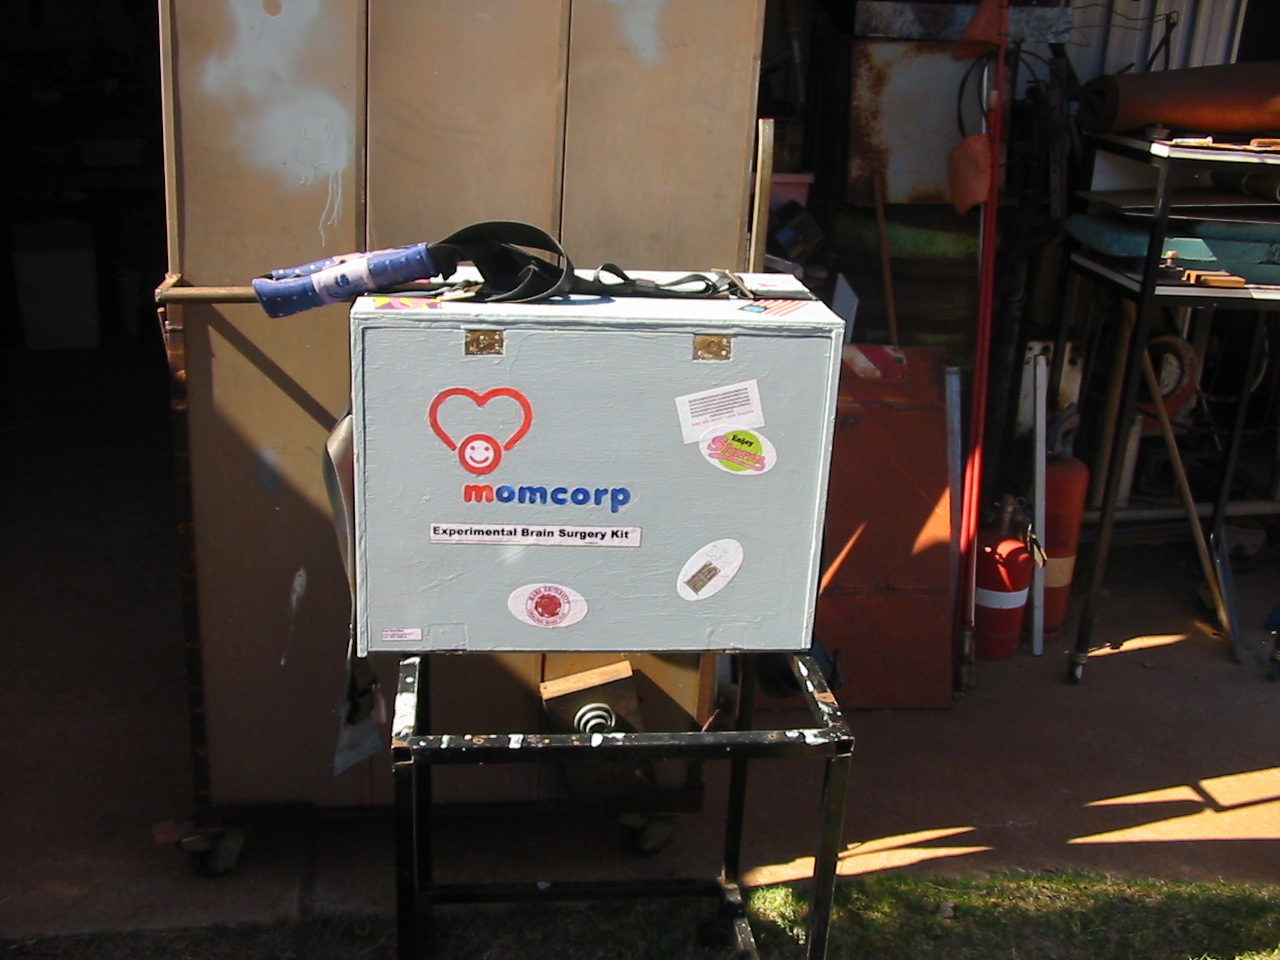
 |
| Figure 1 - Front view of desk with carry strap as if carried |
Under further consideration, I figured it might be easier to make a strap which would fully support the desk from the bottom, and also the sides - the previously mentioned solution would have used the top edges of the sides to carry the weight. I designed a strap which essentially followed a path under the base, up each side, and up over my shoulder. A "waist" strap would go around the desk in the horizontal plane, and have a clasp to permit it to open on the door side.
A few lengths of salvaged seatbelt material, a clasp from an old salvaged life-jacket and about one hour on the sewing machine and this is the result...
 |
| Figure 2 - Side view of desk in carry strap as if carried |
Since none of the lengths of seatbelt material were long enough, I made the bottom strap as one piece, and added a brass "adjuster" at each end to permit attachment and adjustment of the shoulder strap. These adjusters were made from (50x75x3mm) 2" x3" x 1/8" brass strip. A sliding dog was made from offcuts of the same strip brass.
 |
| Figure 3 - Front view, close up of clasp |
A piece of scrap denim was sewed in behind the clasp to reduce it rubbing into the paintwork of the desk, and all sewing was done with over-sewn double runs, and polyester thread.
The strap can be left in place and the door easily lowered, or just as easily totally removed, and reinstalled when it's time to move the desk.
 |
| Figure 4 - Front view of desk with strap unloaded on top |
When I collected the seatbelt material from the training cars (what was left of them) I found one car had those detachable seatbelt pads - Given the final weight of the filled and complete desk, I elected to place those seatbelt pads on the shoulder strap to even the load and reduce any chance of bruising from carrying the desk for a long time.
 |
| Figure 5 - Front view with clasp undone to permit door opening |
A lesson learnt on this construction - when sewing seatbelt material, the upper thread tension on the sewing machine needs to be increased - otherwise the lower side threads all bunch up - my guess is the thickness and weave of the belting makes it harder for the thread to pull up enough under normal thread tension.
 |
| Figure 6 - Door open with DPScope on desk surface |
The last photo is of the DPscope I purchased with some recognition money I recieved (a program they do at work to recognise efforts put in by staff) - The DPscope is a DSO scope which connectes to a PC via USB and has 2 channel capability. Since it only arrived yesterday, I haven't had time to play with it yet, but will do so over the next week - hopefully.
That is it for the strap - hopefully I won't need to carry it far that often, but now I can. I don't know what the next article sets will be - I've heaps of books to review, many projects in the WIP box (WIP = Work In Progress), and a lot on my plate outside the shed. This past week has been a series of quite long days, and in the next 2-3 weeks I hope it will bear fruit in many forms - the least of which will be my Cert 2 in Emergency Response... the rest - that's my secret for now.


No comments:
Post a Comment