 I started with the largest piece of scrap sheet I had which was 4mm thick. It's about 900x600mm (3' x2') and marked it up so Bender would be standing with his feet centered 150mm (6") back from the centre-line. I made him off-centre since I determined his center of gravity would always be forward of his center-line due to the positioning of his arms, the door being opened, and the weight offset in the head (weight of eyes, shroud).
I also decided his feet cups would not actually rest on the plate directly. I decided this based on trying to prevent rust from moisture being trapped there, and to give me the option of covering the base plate with sand, cement, or some other covering to disguise it. The gap under the foot cups is about 6mm (1/4"). So how are the feet attached to the base?
 The foot cups are simply the tops of 9kg(20lb) NuSwift DCP extinguishers, appropriately cut, patched and positioned to make the feet. The NuSwifts used to have a large bronze valve at the very top containing the release disk, hose port, and carry handle. The valve casting screwed into the top of the extinguisher via a large bronze pressure fitting which was brazed inside the body of the extinguisher. In the above photo a gutted valve has been turned upside down and bolted to the base plate. A small piece of steel has been welded to the baseplate between the handle lugs to prevent the valve from turning on the retaining bolt. The foot cups are then simply screwed onto the valve from the underside with only the bolt and spacer protruding above the cup. By locking the rotation of the valve, and marking the feet ( The chalk "R" inside the cup) the feet can be repeatedly placed on the baseplate the exact same way.
The above two photos show my first attempts at making the legs from short sections of extinguishers cut and welded at angle to approximate the curved legs. - I know I could have made them straight like Simon did at asciimation, but I wanted to make mine curved since it seemed more natural and "in character". After many frustrating attempts at trying to make the legs from the extinguisher sections, I thought of a better way, and cut the old attempts away from the feet and pitched them in the trailer for the tip.
 The new legs... "Captain Dan, you've got new legs" - sorry couldn't resist....
The new legs were made from some pipe I scored from some friends at work. Apparently it was leftover from some obscure job and didn't suit anything around the plant. It was an odd size - 83mm OD (about 3 1/2") and only 2 mm larger than my plans called for. I marked the centre-line of the pipe, and called that 12 o'clock. I then marked lines at 2 and 10 o'clock. this divided the circumference of the pipe into two sections, one of 60 degrees, the other of the remaining 300 degrees. I then marked out the regular segments based on the spacing being equal to the diameter. I had originally thought to have the welds visible for the legs and arms, but later ground them flush.
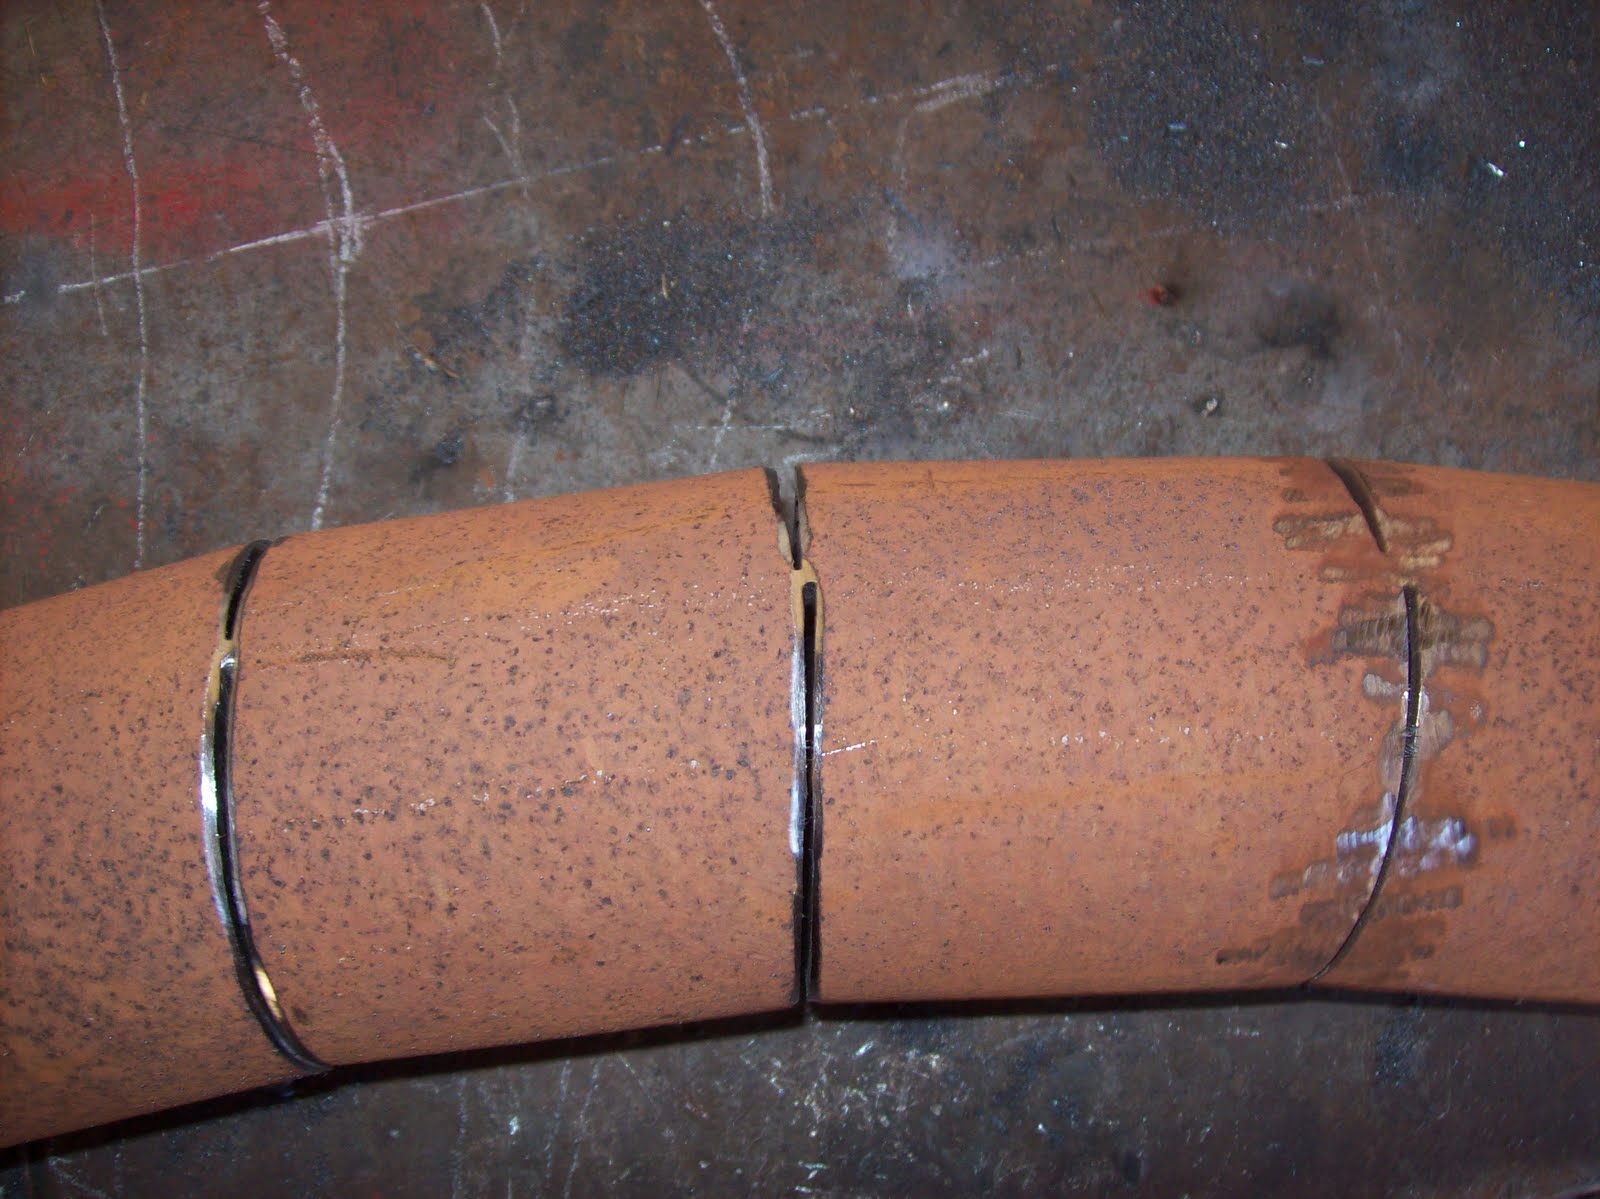
With the marks all in place, I used a 2.2mm cutting disk to cut the 300 degree segment lines. I then left about 1mm (1/16") of connected steel, and used a 1mm disk to cut the 60 degree segment lines. This allowed me to "bend" the pipe so the 2.2mm cuts closed on themselves, and the gaps at the 1mm cuts only marginally increased. The resulting curve is shown below, with some minor grinding to prepare for welding.
 A note about my welding... I've been asked what kind of welder I have. It's a common cheap arc welder - 240VAC "buzz box" using 2.5mm SatinCraft welding rods. I'd love to have a MIG welder, but that will have to wait for another day. I did try learning how to use a MIG welder several years ago, but I'd got so used to controlling my arc by my own hand, I kept moving the handpiece and not compensating for the wirefeed. Learning to MIG is on the "to do" list, but a long way down whilst the stick welder does what I need.

No comments:
Post a Comment